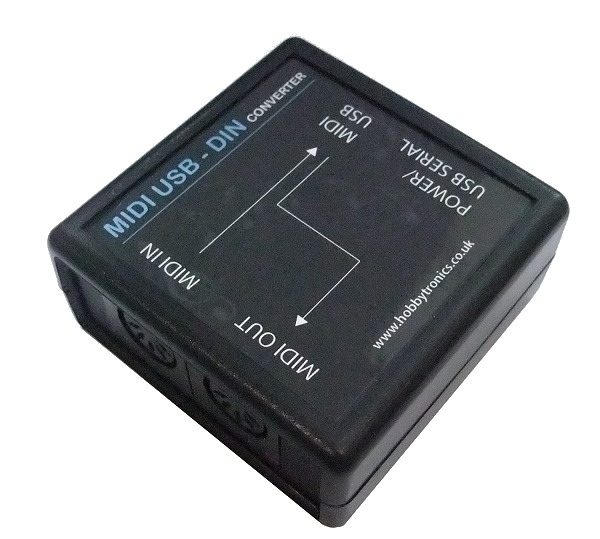
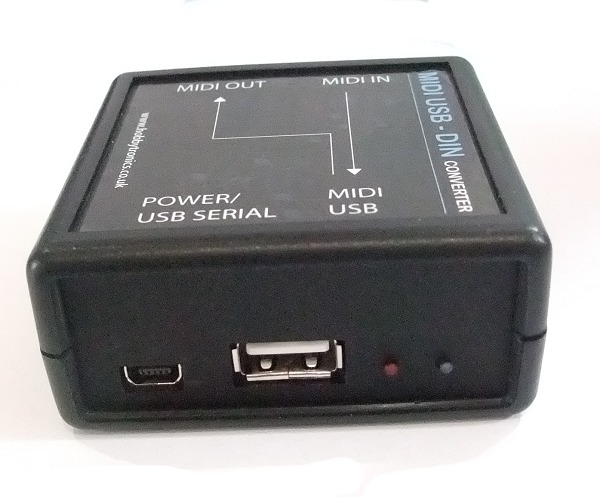
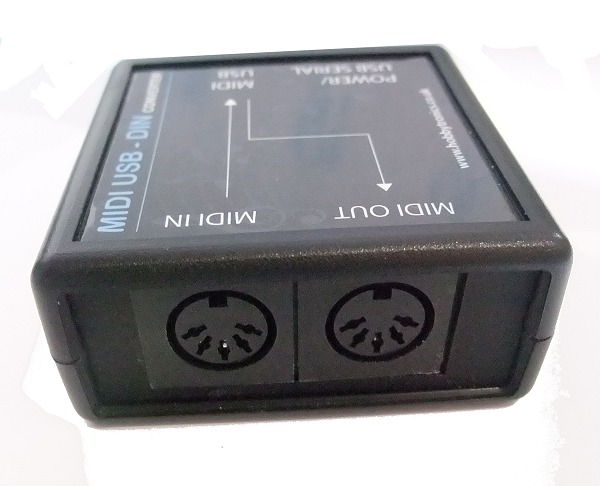
The MIDI USB to DIN Converter allows you to connect a USB midi device to standard MIDI equipment that uses 5-pin DIN connectors. Many MIDI devices now connect via USB, but if you don’t have the facility to accept USB devices in your equipment, then this adapter will convert the USB device to standard MIDI DIN connectors. So you can connect a USB peripheral (such as a keyboard or synthesizer) to older equipment that only has a 5-pin DIN connector (such as an amplifier).
It translates the USB MIDI data packets to/from MIDI Din at the MIDI baud rate of 31250.
Use your USB MIDI device without having to connect it to a computer.
Features
- Converts USB MIDI device to MIDI Din
- Operates at 31250 BAUD
- Optional Configuration Settings
- Filter out MIDI Realtime messages
- Filter MIDI Channel data
- Dimensions: 6.5cm x 6.5cm x 2.68cm (H)
Supported Devices
- Standard MIDI compliant devices are supported.
We have a list of known supported devices
Un-Supported Devices
- Some Complex MIDI devices use a built-in USB Hub. These MIDI devices are not supported and will NOT work with our MIDI USB – DIN Converter. You can determine if your device has a built-in hub by running the free Windows program USB Tree Viewer. If, when you plug in your MIDI device it appears as a new Hub plus one or more devices then it will not work with our MIDI – USB Din Converter.
Connections
Power to the device is supplied via the mini-USB connector using a standard USB A to Mini-B cable. Please note, to cut down on waste, we no longer supply a cable as most people have these already. If you need to purchase a cable separately make sure you get one that is capable of sending/receiving data (not one that supports charging only). A suitable 5V USB power source is needed which could be a computer or seperate mains adapter. Because mains adapters vary throughout the world we don’t supply one.
Configuration
The following configuration options are available for the MIDI software
[NEW] – As of software V1.18 command mode is now inactive by default. The reason is that if you have the converter connected to MIDI IN and MIDI OUT but no USB MIDI device attached, then serial MIDI IN data received would be echoed back out on MIDI OUT.
So, in order to get into command mode you must do the following..
1. Boot up the converter without a USB MIDI device attached
2. Send two consecutive dollar characters “$$” in the first 10 bytes of serial data. If $$ is not received within the first 10 bytes, a reboot is needed to try command mode again.
Configuration is not necessary for normal operation, however the following Configuration commands are available. Connect the MIDI Converter to a computer using a suitable mini-USB cable (see under Connections above) and run a terminal program set to 31250 BAUD. The Help screen and configuration settings can only be made when there is no MIDI device attached.
| FILTER <value> | Filter incoming MIDI Channel data [0-OFF|1-16 Channel to be filtered] |
| REALTIME <value> | Turn ON/OFF MIDI REALTIME messages [0-OFF|1-ON] – Default is ON |
| DEBUG | Temporarily turns on debug output |
| MODE <value> | Set mode of operation 0 – Standard Mode, 1 – Midi Thru mode – Default is 0 |
| HELP or ? | Display Help Screen |
FILTER
The FILTER option allows you to block ALL incoming MIDI channel data received on the MIDI DIN IN connector EXCEPT for the MIDI channel selected.
This is useful for MIDI Effects devices which run in OMNI mode only (which means the effect would be applied to ALL channel data)
REALTIME
This option allows you to turn MIDI Realtime messages On or OFF. The default is Realtime messages ON
DEBUG
Temporarily turns on debug output. This is useful if you have a USB MIDI device that is not working. The debug output can be sent to us at Hobbytronics to determine the problem.
MODE
If you only need to send midi data to the attached MIDI USB device, you can can use the MIDI OUT port as a THRU port (see diagram below).

Documents
MIDI message format
Sparkfun MIDI Tutorial
Arduino Board as basic MIDI synthesizer – Create a basic MIDI Synth using an Arduino Board
USB Host Serial MIDI Connections – Connecting the Serial port to serial MIDI devices
Program Updates
New software versions can be downloaded from the USB Host MIDI product page
To load the new software we use the free ds30loader application.
You can download a copy from our website here.
Run the ds30loader application and…
- Select the new firmware hex file (midi.hex)
- Set the device to be PIC24FJ and 64GB002
- Set Baud rate to 115200
- Tick the “Write Flash” checkbox
- Select the Serial Port from the list (probably says ‘USB Serial Port…’)
- From the Menu select “View” “Advanced Mode”
- Click the “Reset” tab and make sure DTR is selected
- Set “Reset Time[ms]” to 100
- Click on the “Write” button at the top of the screen (or press F2) and the new firmware will be installed


